Food & Drink
Simple Tips for Beginner Beer Brewers to Make a Successful First Batch
Although the first purchase of most homebrew beginners is a “how to” book, there are some things you can’t find in a textbook, which can be very helpful to a novice homebrewer. Or, to be more precise, they might tell you in the book, but for some reason, they don’t get to most of us homebrewers. Here are some of those suggestions.
Try Different Recipe Kits

The ideal place to begin is with homebrew recipe kits. Advanced homebrewers create their own recipes, but a kit comes with all the supplies you need, including premeasured components. All you have to do is stick to the directions. There are perfectly constructed beer recipe kits, including copies of your favourite commercial beers, available online. This can help you produce the precise beer you want to start brewing with your new equipment.
As there are myriad options with distinctive flavours, choosing a beer style to start might be overwhelming for a beginning homebrewer. To assist you in selecting a beer recipe you can skillfully complete, here are some of the most effortless types of beer to brew in this homebrewing guide.
What is the easiest beer to make at home? Most homebrewers believe that making ale is the most uncomplicated beer to brew. Ales are forgiving in their brewing process, so even if you make a few mistakes, it’s still possible to save the beer, unlike other beer kinds, which can be a complete failure if you make a mistake at any point.
As a beginner, it can be alluring to try more complex beer varieties like Imperials or Lagers, but you should usually start with something simple. Since using beer recipe kits with extract is the only surefire way to make this beverage at home, most homebrewing experts advise sticking to them and creating ales for the first few months.
You can advance and experiment with all-grain techniques and more complex beer styles, such as porters, as you become more accustomed to the brewing process and entirely cease making mistakes. Dark malts, used in porters, give the brew its robustness and deep colour while making it less prone to error. Once you’ve mastered ales and porters, you can move on to the little more complex IPAs and Lagers, and create the ideal craft beer for your palate.
Purchase a Larger Auto-Syphon
The auto-syphon is your principal tool, whether racking to a keg or transferring from the kettle to the primary fermenter. Most beer starter kits come with an auto-siphon. When bought alone, these typically cost around $10, but for just $4 more, you can obtain a 30 cm racking cane that will help you transport that priceless liquid from vessel to vessel much faster. Many homebrewers that haven’t switched to the larger size until their fortieth or fiftieth batch of homebrew wish they had done so on batch one.
Make Your Own Yeast Starter
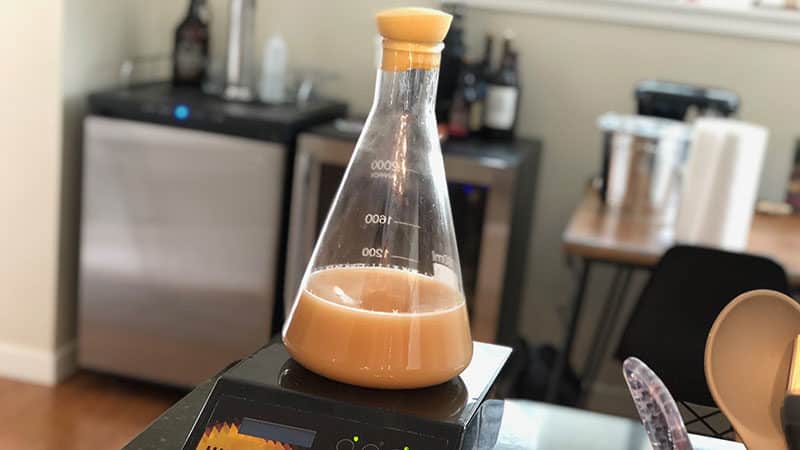
One of the most frequent responses we get when we ask seasoned homebrewers what they’ve done to improve their beer is, “I now pay great attention to the yeast and always prepare a strong starting.”
Making a yeast starter is a fantastic method to ensure that your fermentation cycle gets off to a fabulous start, regardless of whether you purchase a tube of yeast, a smack pack, or a package of dry yeast. You can significantly increase your chances of having a robust, active primary fermentation phase by doing it in only 20 minutes. Since the conversion of sugars to alcohol happens more quickly when the yeast is healthy and functional, this also lowers the risk of infection.
Your Wort Needs Oxygen
There is not much oxygen remaining after the hot phase and cooling of the wort, and yeast needs oxygen to begin a rich fermentation. You may give your wort oxygen in a few different ways. You can add water straight from the faucet, but this will dilute your wort and lower the ABV and flavour of your beer overall.
The recommended approach is to use an oxygenation kit or aeration stone similar to the ones you might have seen in an aquarium. You can purchase them for anywhere between $35 for the aeration stone and $50 for the oxygenation package (without the oxygen tank). Your beer will appreciate it, we assure you.
Do a Mummy Bag Mash
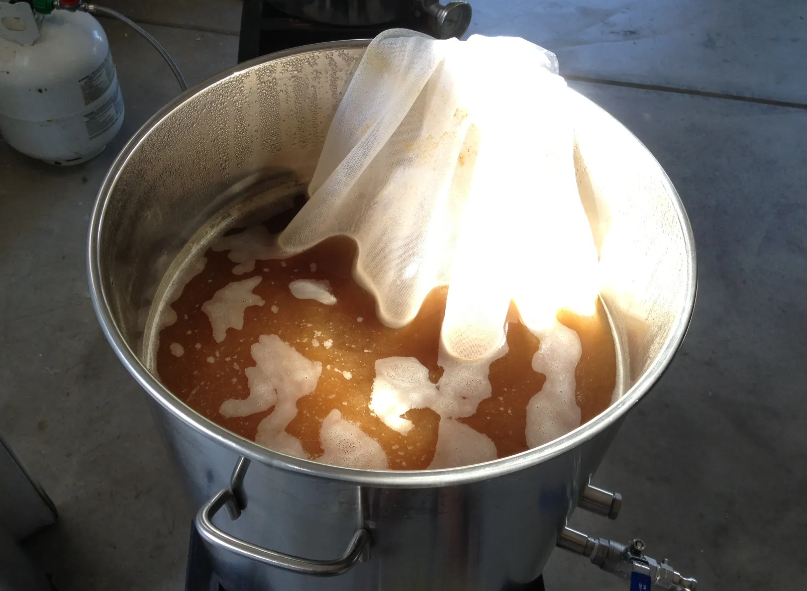
When you’re just starting, investing in a mash tun can seem like a pretty hefty commitment, and some homebrewers believe they can’t begin making all-grain beers without one. Wrong! Simply do your mash in your brew kettle (heat off!) and then tightly enclose it in a sleeping bag for 60 minutes if you have a high-quality sleeping bag. How well the temperature holds up will surprise you. After about 15 minutes, check it and add boiling water if necessary to raise the temperature.
Bottle On the Dishwasher
Your homebrew takes time to bottle. It can seem like a bottling session lasts as long as a brew session, from washing the bottles to cleaning out the fermentor at the finish, especially if you’ve had a spill or two. This simple tip can help you avoid creating a mess: Bottle on the dishwasher’s open lid. Place your bottling bucket on the countertop directly over the dishwasher, then fill your bottles using the cover. When you close the door, spills flow into the dishwasher, making cleanup easier.