

Electronics
Blower Door Testing 101
We frequently worry more about the air quality outdoors, not realising that the air pollution inside our homes—the same areas we believe to be the safest and where we spend the majority of our time—is more dangerous and more likely to cause serious health problems. Although some would argue that an airtight home can lead to condensation and a need for better ventilation, it’s living in a leaky home that can turn into a big problem.
If the building isn’t properly enclosed, it can result in poor indoor air quality, deposits of moisture and mould, as well as gaps and cracks that are filled with all sorts of contaminants, from dust and pollen to bacteria and bugs. In addition to making you sick, your home could also end up draining your wallet, as airtightness is directly related to energy usage.
Improving the whole insulation of the house might fix the problem, or perhaps you need to do some duct and enclosure sealing. Or maybe you think you have a passive house design? You’d never know until you do accurate testing with reliable blower door test equipment to determine the exact amount of air leakage.
What Is a Blower Door Test?
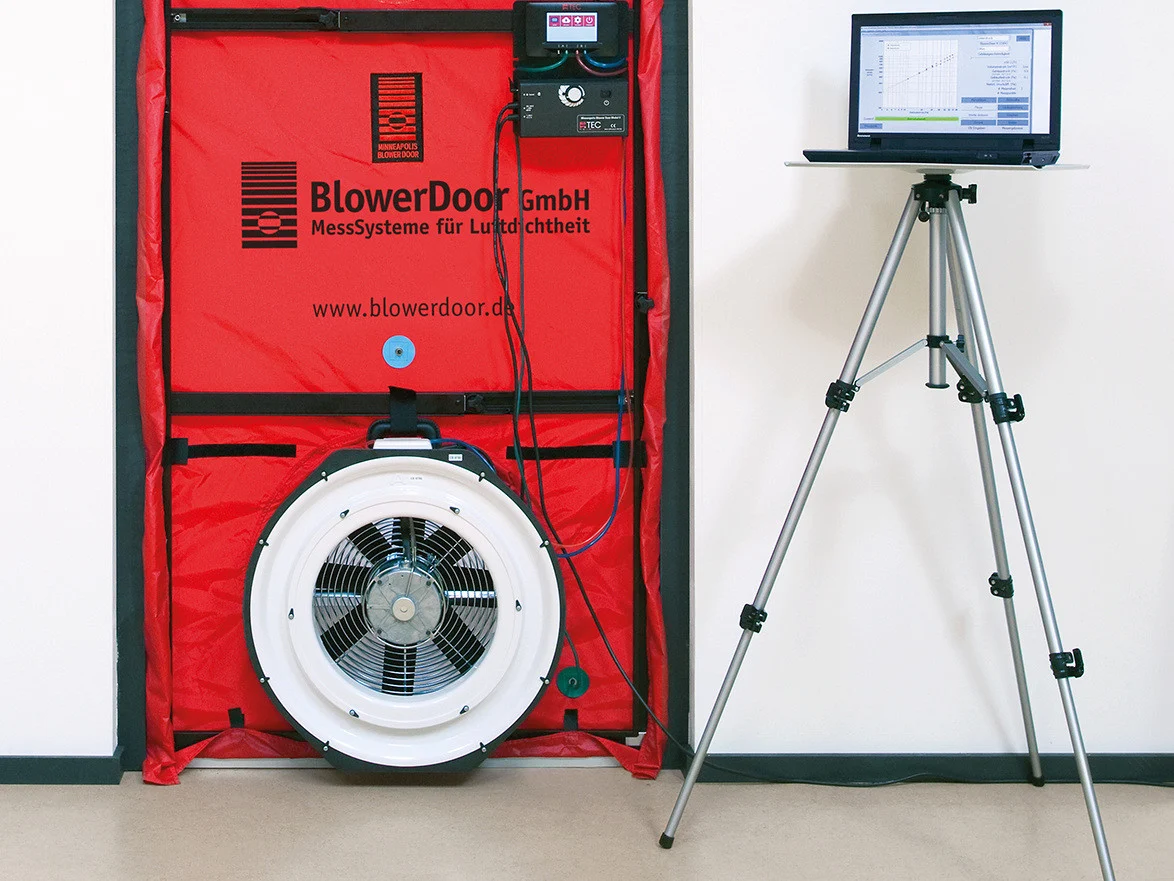
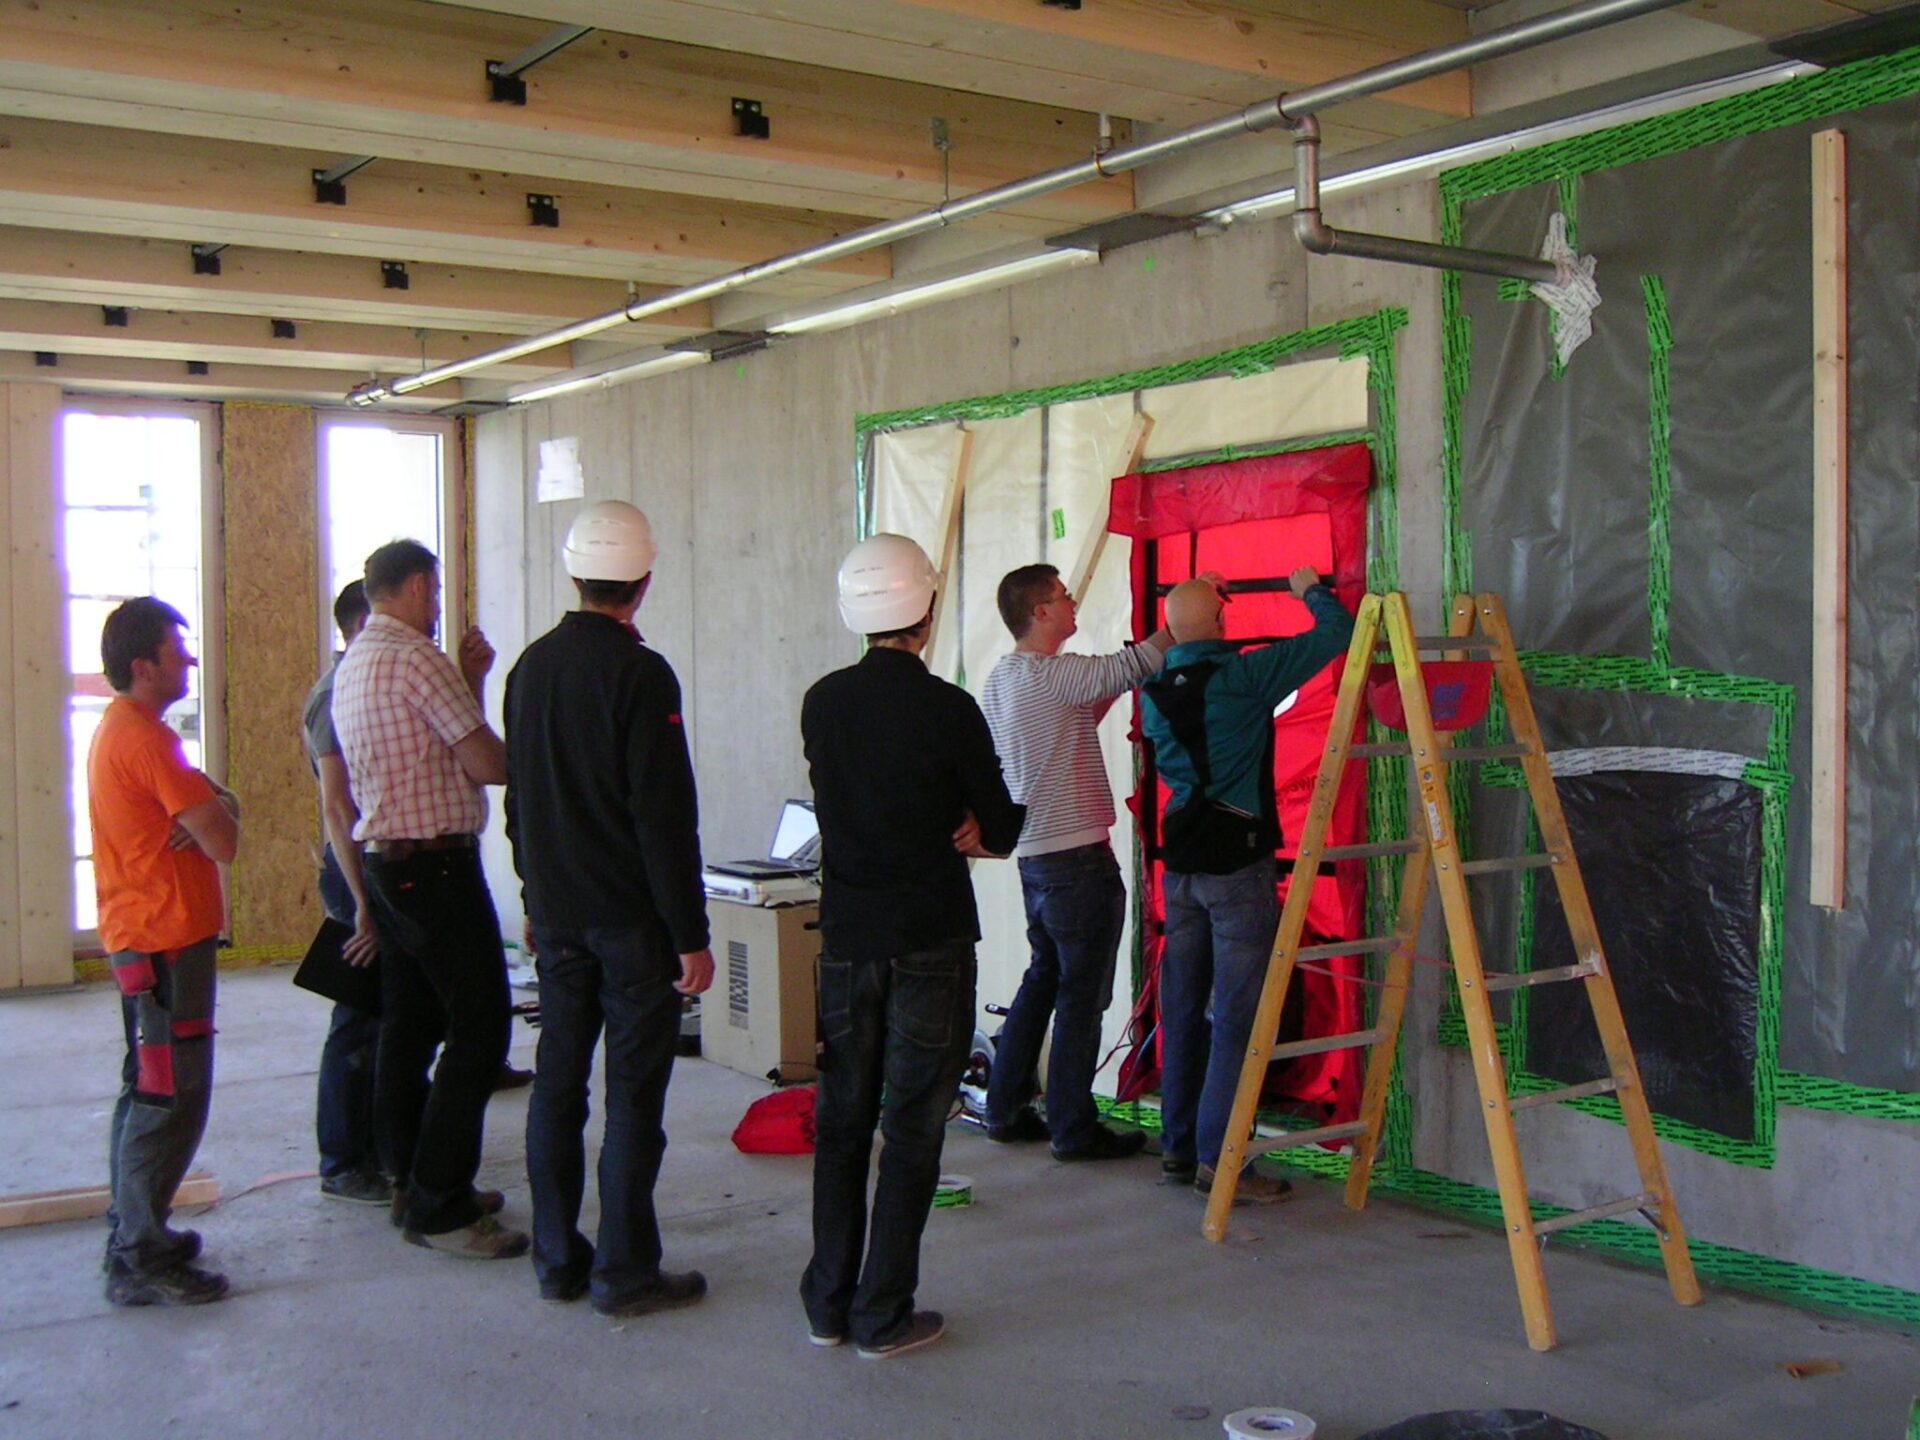
It’s conducted by a certified energy audit to determine the airtightness of a home with the use of a calibrated fan. It involves attaching the fan to a sealed front or back door, with every home exterior opening closed. By using the fan, which basically sucks the air out and blows it in, there’s a pressure difference created between the outside and inside. The difference before, during, and after the test is shown by digital gauges.
The higher levels of change, the leakier the home. This will be indicated in ACH (air changes per hour), measured at 50 Pa using the blower door test equipment for the readings.
Since there’s no standard globally, what’s considered airtight will differ from country to country, with the average in Australia being 15.4 ACH50, meaning most houses in the country could do with a boost in air tightness. So, if you’re buying a new home, be sure to check for the ACH to know exactly what you’re getting.
The building standard of a Passive House design is less than 0.6ACH50. The blower door tester will also indicate the amount of air moving through the fan measured in CFM (cubic feet per minute), with numbers higher than 1200 showing a leaky home.
The positive thing about this kind of testing is that you also get to find out where the technicians find these drafts so you can know immediately which parts of your home require the sealing of junctions and gaps.
Since no two leaks are the same, like say the window and the attic, you can get the most suitable solutions to fix the problem, enhance the home, and get a boost in comfort and health quality. More so as this kind of testing can show you how much your home needs heating and cooling too, respective of the level of air tightness. In other words, you only get to benefit because there’s no guesswork for you!
How to Prepare for a Blower Door Test?
Although there’s nothing too risky or special about the testing that requires particular precaution, there’s still some info you’re going to have to know about in advance so you can prepare as best you can. Keep in mind the following:
- Make sure your home doesn’t contain asbestos or mould, as these two can easily dislodge during the fan blow and cause a serious health hazard. Have specialists come over to check for these two, and if there is any trace, they’ll have them removed. When removed, you can carry on with the blower door testing as planned, knowing your health isn’t in danger.
- Then, you need to close all the windows throughout your home to make sure the outside air doesn’t interfere with the indoor readings. The same goes for the exterior doors, whether it’s the front or the back, the attic or the garage.
- Now, even though you need to close the windows and exterior doors, you should remember to open up the interior doors so as to depressurise the home entirely like a single room in testing.
- Next up, you should turn off all heating and cooling sources and keep the indoor air still. No matter whether it’s the air conditioner, a fan, an HVAC system or a vented dryer, they need to be off. If your additional heating is also a fireplace or a woodstove, the fire must be completely out, and you should close these two up. Remember to clean them up from ashes prior to the testing to prevent them from flying around.
- Check to see if all wall materials are securely fastened because the force created by the fan for the test can be quite powerful and loosen any air-barrier materials.
- Lastly, it’s important to ensure there’s a 20-amp working circuit available for the fan and equipment.