


Automotive
Tips on How to Install Your Ford Bonnet Protector
Not every aftermarket part needs a professional take in order to be installed properly – with some of them you will just need some spare time and solid guidance. The same goes if you want to equip your Ford with a bonnet protector. No matter how inexperienced you may be in it, with some research on the topic and a bit of effort and desire, you can get it right. Here’s a bit help on the matter.
Prepare
First of all, you will need to take out every part in the packaging and check if you have every single one that you need as well as whether you have the necessary tools for the job. Once you have everything you need, start off by washing your Ford – do this with every external upgrade on your vehicle. Make sure you wash the front of the hood where the Ford bonnet protector will go and ensure that it’s well dried afterward because the bonnet won’t be able to stick on a wet surface.
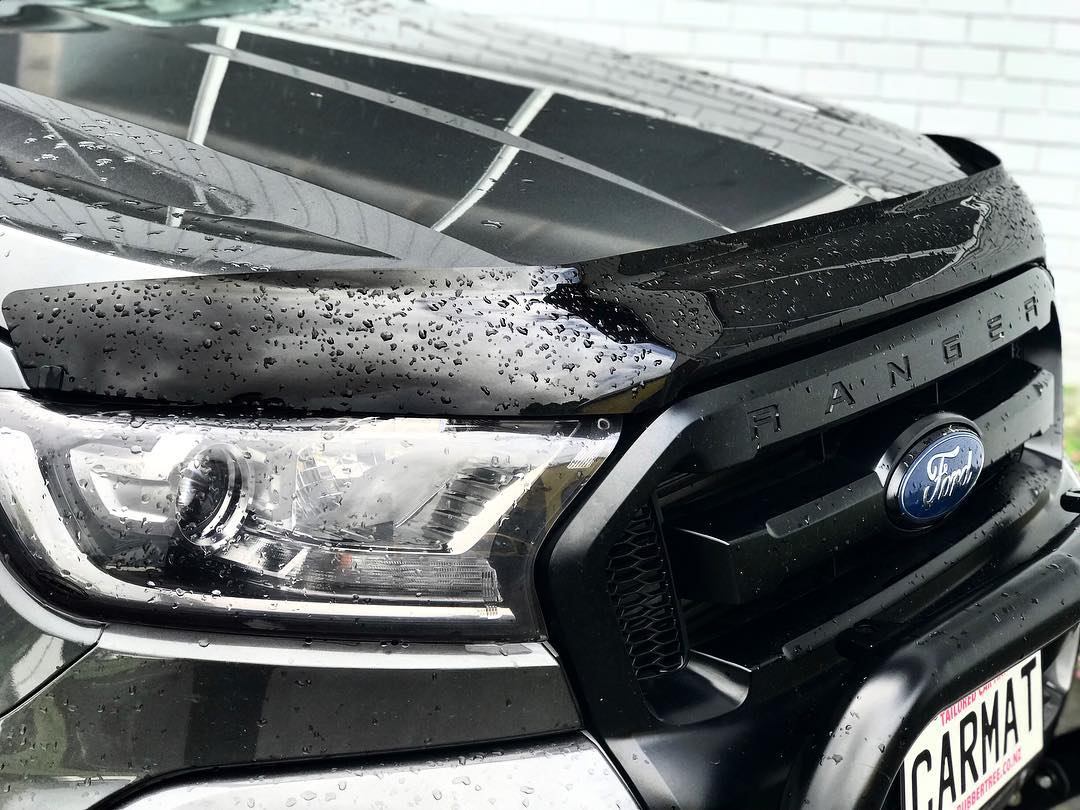
A trial fitting is a good idea to avoid any misfits. This will help you to center the bonnet guard easier when you are going to do the actual installation of the protector. Reading the installation manual of the product will help you more than you think as there are picturesque instructions. This will give you a better understanding of how the Ford bonnet protector should be mounted on the hood.
Installation
To install it, you should attach the guard on the hood shield flange using the black plastic washer and machine screws. You will have to remove the plastic seal that retains the fasteners which will need to be aligned to the pre-drilled holes in the hood shield. After you’ve done that, you will need to separate the hood seal very carefully from the areas where the hood shield flange is going to be aligned.
After you’ve aligned everything properly, you should take the female portion of the fasteners and place them in through the hood shield and the hood – make enough room by gently pulling back the gasket. Once you’ve done that, take the male portion of the fasteners and place them through the gasket right into the female fasteners – make sure you don’t overtighten them as this may cause some damage. Lastly, mount the supporting brackets by screwing them in the hood or using push-rivets and clips, depending on the specific kit that you have.
Check & Clean
After you have mounted everything successfully, carefully inspect every single centimeter of the front of the hood and the Ford bonnet protector for any scratches or small dents. Also, clean it well around the mounting points and working area on the hood, so you can see the bonnet in its best form. Make sure that everything is well tightened and you are finished.